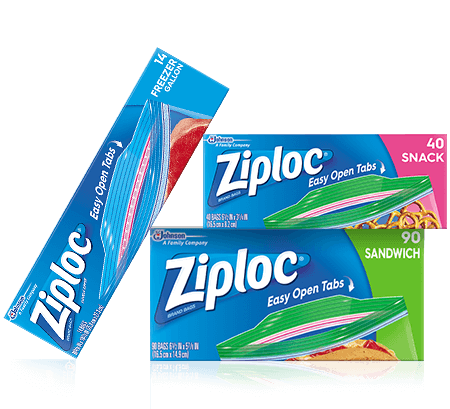
 DIY ZIPLOC HOLDERS As we juggle life with kids' snacks, school lunches, meal prepping and more there’s a constant need to access our multitude of ziploc bags in a variety of sizes. I personally use them to portion and freeze some food items, and to keep small items around the house (like batteries) organized within a larger container. Some of us have transitioned to reusable and washable ziploc bags, but lots of us are still using the regular ones, and here comes the dilemma, where to store ziplocs bags so that they are visible and easy to access and most of all not too cumbersome to put away or they will be left on the counter. A lot of my clients have this problem, for some we have found ideal spaces, in drawers or organizers that can be purchased but some people don’t necessarily want to invest funds if they think other family members won’t use them, so here is a quick way you can create a DIY ziploc organizing system that is quick and inexpensive. I have used this same method with clients for tea boxes, either inside cabinets or on the door, where space was tight. It helped to keep the boxes in place and allow them to just get the bag out, when not labeled. All you will need are some small Command hooks, (the ones we used are from the $ Tree) a marker and a scissor.
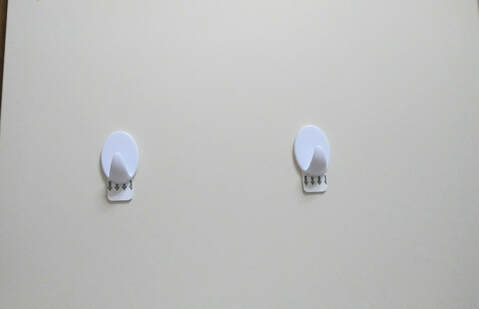 1 - Attach the hooks to the inside of your cabinet door, (read above notes first ) spaced to fit your box size. These are for a small size so only 2 are needed. If the box is really long you may need 3 to fully support. 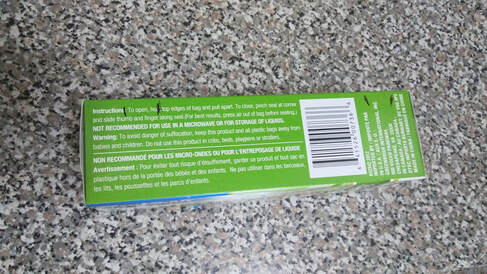 2 - Mark the back of your box to correspond to the distance of the hooks you just attached. The marks we did here were too close to the edge of the box so it did not allow the box to sit flush to the door. :-( See below how close to the edge it was? Not the way to go...lol... 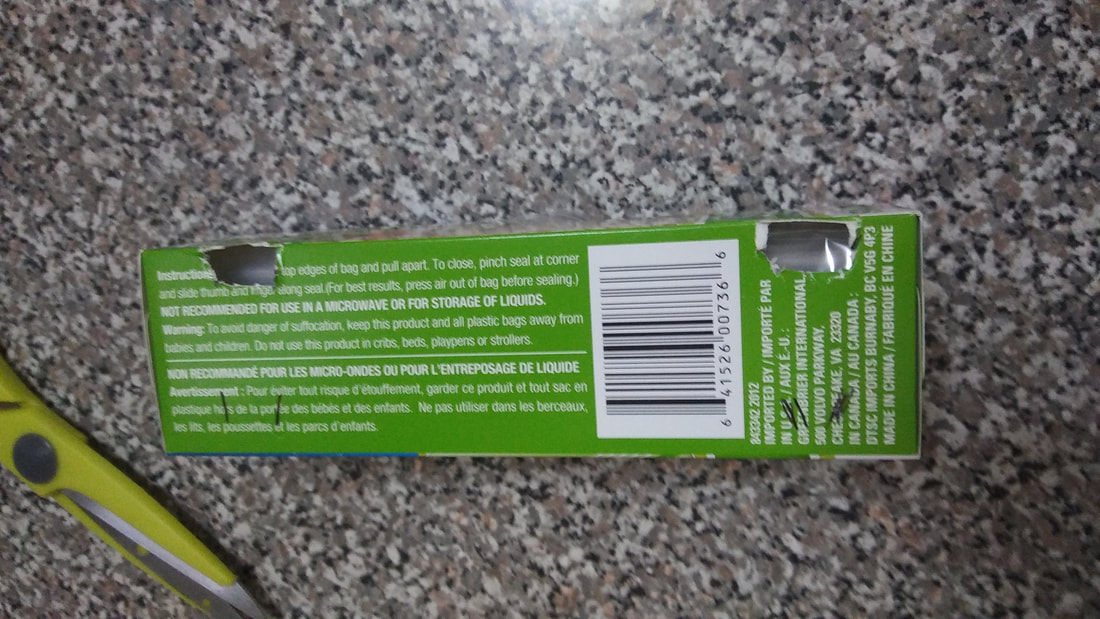 3 - We had to make new markings on the other end, this time a little further away from the edge of the box. 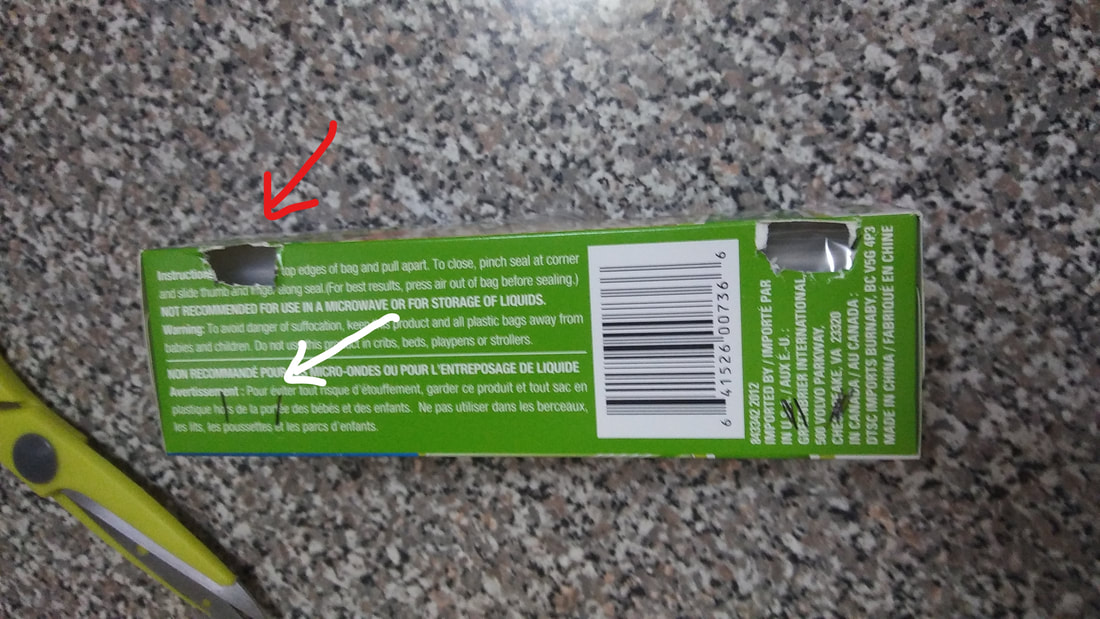 The red arrow points to the not so ideal holes we cut, the white arrow points to the new markings which worked great, so keep that in mind :-) 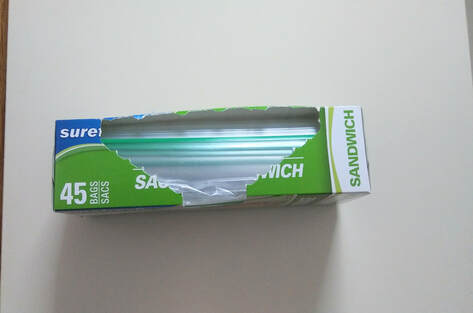 With the new holes we cut we were able to situate the box on the door and it sat flush against it, unlike our previous failed attempt... lol... So as you see it takes no time and very little effort, but see how easy it is to see and grab the exact size you need, while leaving the box untouched so no need to put away, basically Grab and Go!!
You can add larger sizes underneath and if you don't have space on a cabinet door you can attach on the wall, on the fridge, on the side of a cabinet or wherever you have available space, so you can free up drawer or shelf space for either items as well. Now just try it and enjoy!! |
